First

(If you purchased a Room Pressure Only model “TV2-204p” you can skip this step)

Unpack your TV2 Room Pressure Monitor and locate the Temperature/RH sensor. This will look like the pressure sensor, but without the hollow plastic tubes associated with the pressure sensor. If you are unable to use Velcro patch on the back of the sensor for your application, other options may include commercial-grade 3M double-sided foam tape.

  • Determine where the temperature/RH sensor will be located. Typically on the ceiling of the room being monitored.
  • Mount the temperature/RH sensor with the Velcro backing.
  • Plug the twenty-five foot wire into the sensor and run the wire above the ceiling or inside the wall back to where the QuickCheck monitor will be located.

Note: If you chose the Room-Pressure-Only Model TV2-204p you will have only one 25′ black wired cables, not two as with Room pressure Models TV2-204pt and TV2-204prt.

Second

Please locate your pressure sensor. This will look similar to the temperature/RH sensor, but will have two clear plastic tubes coming from the sensor. Determine where the pressure sensor(s) will be located. Typically, pressure sensors are placed in a room corner above the ceiling of the room being monitored and close to the area to be compared (differential pressure).

  • Position the pressure sensor with the Velcro backing
  • Plug the twenty-five foot wire into the sensor and run the wire from the QuickCheck monitor above the ceiling to the sensor.
  • Affix the pressure wall port/snubbers (passive port, wall plate) for the pressure sensor in the ceiling or wall of each area. (i.e. pressure room and gowning area)
  • Run a clear plastic tube from the sensor to each pressure snubber (i.e. pressurized room and gowning area)

See an illustrated example here.

Third

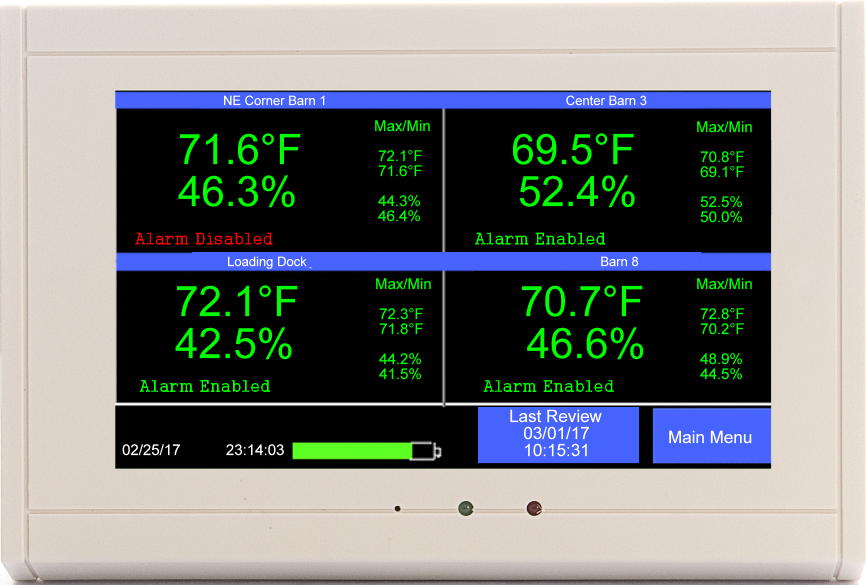
TV2 displaying four temp/RH sensors
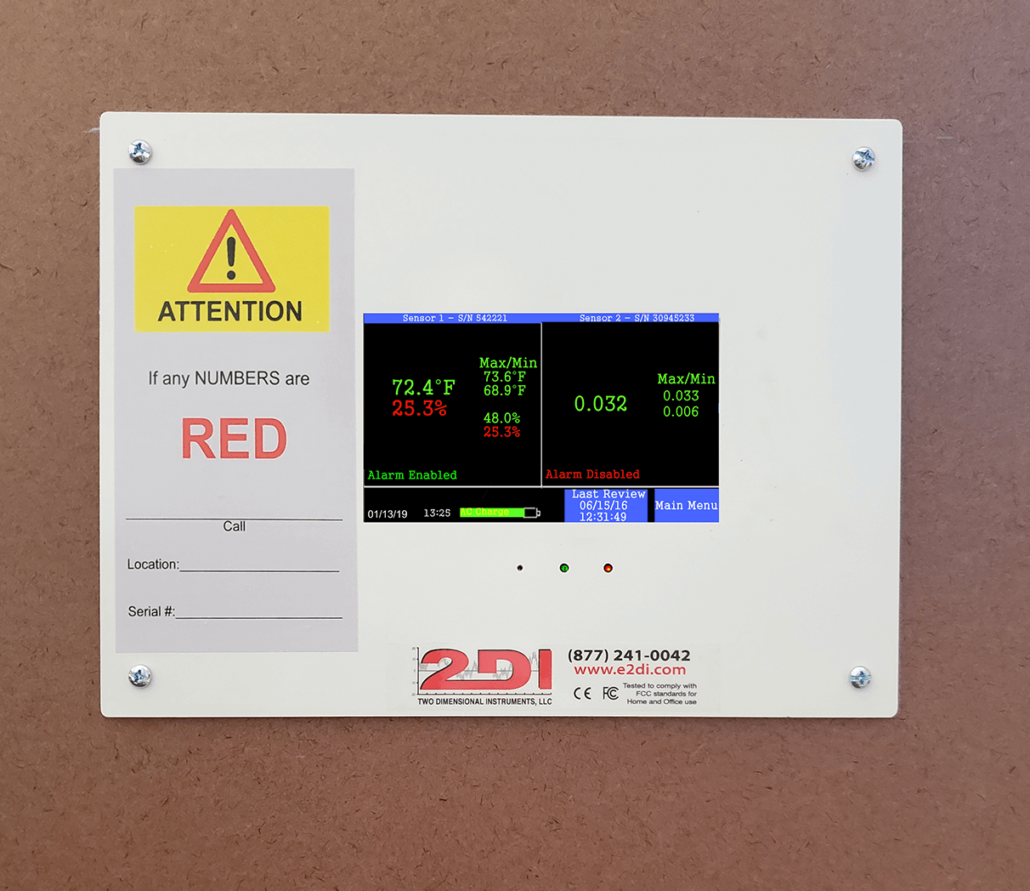
TV monitor mounted on particle board

Inspect the QuickCheck Touchscreen Room Pressure Monitor. Take note of where inputs are located and plan accordingly. All inputs whether from sensors, power or Ethernet are on the left side of the monitor.

If you ordered a box mount, you will have greater flexibility when running the cables from your pressure and temp/RH sensors to it. If you selected a panel mount, cables must be ran down through a hollow wall, or a wire chase in a solid core wall, from the sensors to the sensor sockets on the QuickCheck monitor.

Next, determine where the QuickCheck monitor will be positioned and mount it. Each sensor comes with a 25-foot sensor wire.  If the sensors will be positioned more than twenty-five feet from the monitor sensor extension wires can be used.  The sensor extension wires are available in fifty-foot sections and can be ordered directly from 2di.  The power cable which plugs into the USB socket on the monitor is six-feet long.  It should not be extended longer than that since the USB specifications limit the cable length.  So the wall outlet into which the power cord will be plugged should be positioned within feet.

A box mount QuickCheck touchscreen monitor can be mounted with the included Velcro patches on the back of the monitor directly onto a wall surface.

A panel mount QuickCheck touchscreen monitor can be mounted with drywall molly bolts or other drywall specific hardware.

The box mount and the panel mount can also be mounted in an optional instrument case.

Last Steps

So far, you will have positioned the optional Temperature/RH sensor in the room to be monitored using Velcro or other mounting medium. You will also mounted the pressure sensor near or in the room to be monitored. The data cables should have been run to the QuickCheck monitor.

You will have plugged the tube couplers/nipples at the end of the plastic tubes coming from the pressure sensor to the plastic tubes going to each wall port/snubber in two rooms (differential negative/positive pressure).

Finally, you will now

  • Plug the pressure sensor(s) and temperature/RH sensor cables into the QuickCheck Touchscreen monitor.
  • Run a CAT-5 cable (not included) from a wired Ethernet hub/switch/wireless router to the TV2 Room Pressure QuickCheck Display.
  • Supply power to the TV2 Room Pressure Monitor/QuickCheck Touchscreen Display.

For setting up your TV2 Room Pressure Monitor, please refer to the TV2 Room Pressure Quick Start guide here. That’s it! you are now monitoring differential pressure, temperature and RH with the most sophisticated instrument available.

© Copyright - Pro Data Loggers